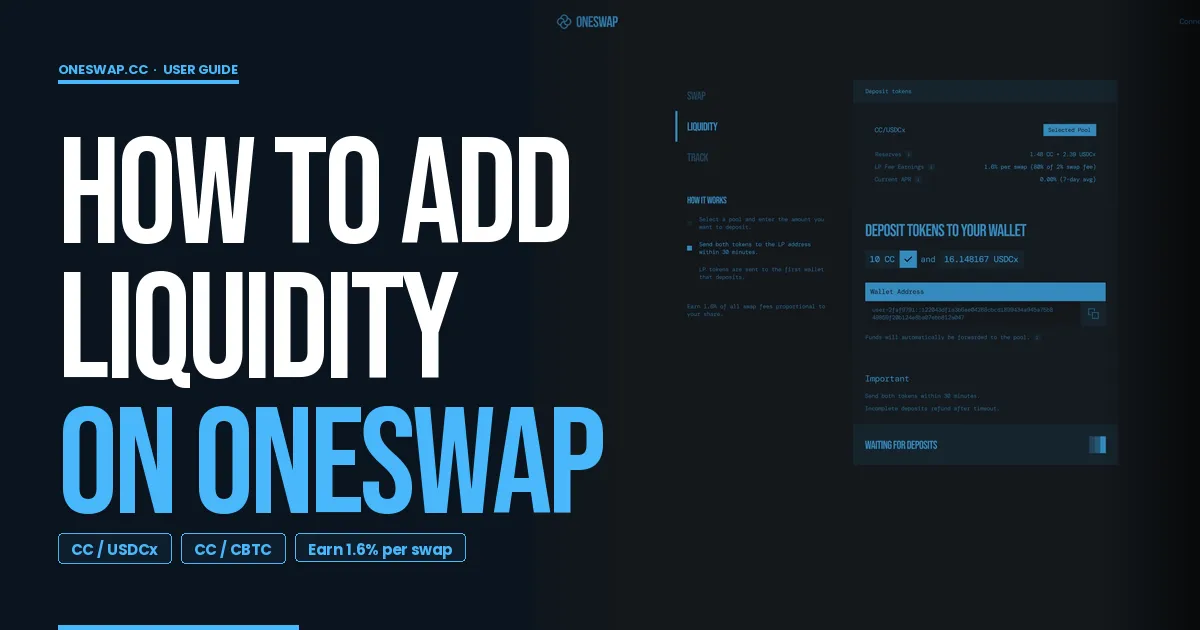
How to Add Liquidity on OneSwap: A Step-by-Step Guide
Providing liquidity on OneSwap is a simple way to put your assets to work and start earning from LP activity on Canton. If you’re beta testing the platform and want to add funds to a pool, this guide walks you through the full process from wallet connection to tracking your live position.
Step 1: Connect Your Wallet
Start by connecting your wallet to OneSwap.
Once connected, click on Liquidity.
This section shows all available liquidity pools and guides you through the deposit process.
For this example, we’ll use the CC / USDCX pool.
Step 2: Select Your Pool and Enter Deposit Amount
Click on the CC / USDCX pool.
Enter the amount of CC you’d like to deposit.
As soon as you input the amount, OneSwap will automatically calculate and display the exact equivalent amount of USDCX required for the position.
This makes it easy to balance both sides of the pool correctly.
Once you’re satisfied with the amounts, click Add Liquidity.
Step 3: Copy the Liquidity Pool Party ID
After clicking Add Liquidity, OneSwap generates a Liquidity Pool Party ID.
This Party ID is important because it acts as the destination where you’ll send both assets for the pool deposit.
Copy it carefully before moving to your wallet.
Step 4: Send CC from Your Wallet
Now go back to your wallet.
For this walkthrough, we’ll use Console Wallet.
Inside the wallet, click Send.
Select Canton Coin, then paste the Liquidity Pool Party ID into the recipient field.
Go back to OneSwap and copy the exact CC amount shown for the deposit.
Return to your wallet, paste in that amount, click Next, and confirm the transfer.
Step 5: Send USDCX
Repeat the same process for USDCX.
Use the same Liquidity Pool Party ID, but this time select USDCX as the token you want to send.
Copy the exact required amount from OneSwap, paste it into your wallet, and send the transaction.
At this point, both sides of the liquidity position have been funded.
Step 6: Confirm Your Position
Once both transfers are complete, head back to OneSwap.
The platform will automatically detect the incoming deposits.
Within a few seconds, your liquidity should be successfully added to the pool.
Click View Positions to see your live LP position.
From here, you can:
monitor your deposited assets
track how much you’re earning from LP fees
add more liquidity
withdraw whenever you want
review your activity history on the platform
Final Thoughts
And that’s it! Your liquidity is now live on OneSwap.
The process is straightforward:
connect wallet → choose pool → add amounts → copy Party ID → send both assets → confirm position.
With your funds now active in the pool, you can start tracking your position and earning from liquidity activity directly on the platform.